To restore the balance between your program tooltips and the Ezhelp data, the data in the Ezhelp file needs to be updated.
Without TipLink Reporter this means that you can not use the utility template that ships with Ezhelp to generate a new data file without losing your changes. As a result you have to go through each screen in your program, activate the Ezhelp for each control and check to see that it is up to date. This process can take hours and is very prone to mistakes.
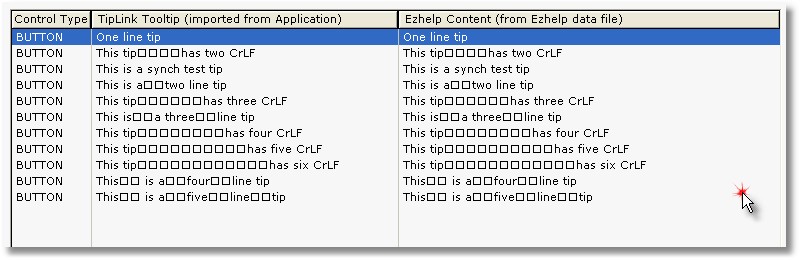
TipLink Reporter can safely synchronize TipLink data with your existing Ezhelp data file.
This means that you can quickly add new entries to your Ezhelp data file without needing to type them manually!
Note: Remember to run the TipLink Reporter utility template and export the data from your program again, then analyze the data and make changes BEFORE you synchronize with your Ezhelp data file.
To synchronize your current data with an existing Ezhelp data file follow these steps:
Click the EZSynch button on the Ezhelp menu:

Next you will see this screen:
A note about file safety...
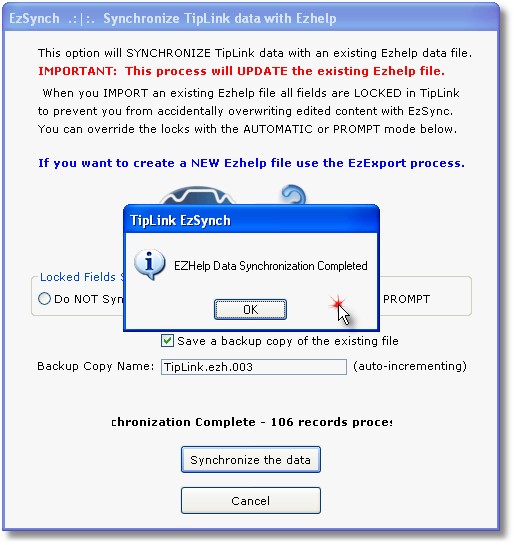
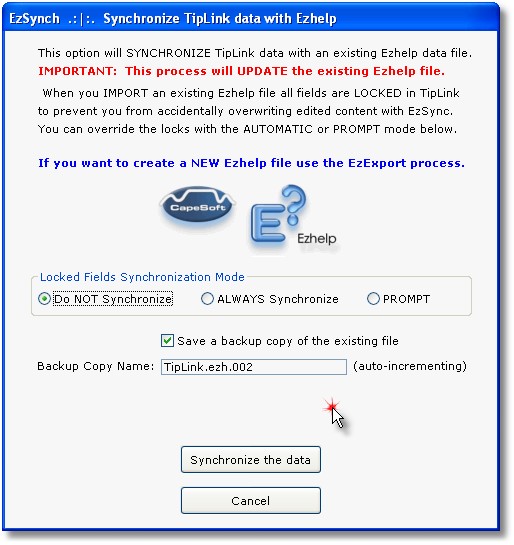
We know that people make mistakes. Because of this we have built automatic safeguards into the TipLink Reporter. Before any export or synchronization process the TipLink Reporter will make a copy of your current Ezhelp data file for this application.
These copies are in the same folder as the original and have a numeric extension such as 001, 002, 003 added to the filename. This number is auto-incrementing and the copies stay around until YOU decide to delete them in Windows Explorer.
You can elect not to have the backup copy made, but do so at your own risk!
If you have made customizations to the data using the Ezhelp editor and the file is exported the changes are lost. If you accidentally do this (with the backup enabled) you can just delete the new export file and rename the original.
Note:
If you decide to delete the backup copies at some point in the future and want to reset the numbering scheme, it is stored in a local TipLink.INI file (in the same folder) in the Export section under LastSaveNumber:
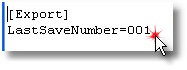
To reset the numbering, just delete the LastSaveNumber entry.
Deciding what synchronization mode is right for you...
To give you complete control over the synchronization process, there are three modes of operation:
Note:
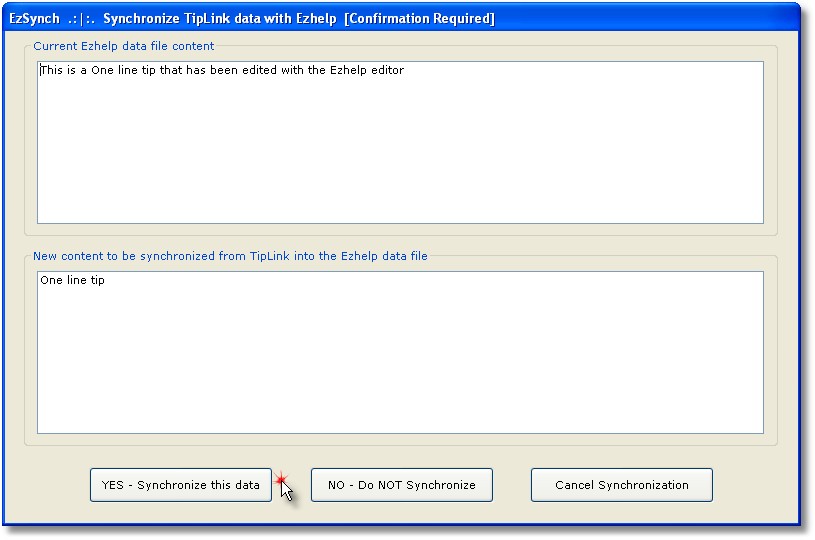
These modes only apply to situations where the data for a control in the Ezhelp file does NOT match the data in the TipLink file. If there is no corresponding entry in the Ezhelp file, it will be added automatically.